Master List of Linked Build Pages:
#1 Getting Started -sorting armor and getting supplies
#2 The Corset and Butt Plate
#3 Torso and Shoulder Pieces
#4 Upper Arm Pieces and Shoulder Bells
#5 Lower Arm Pieces and Hands
#6 Leg Pieces
#7 Belt and Ammo Boxes, and detonator
#8 Helmet
The costume is approvable without the Helmet if you are Jes Gistang. But if not, you must order the smaller helmet from KW Designs.
With that being said, I've included a bunch of photos of my Anovos Helmet that show you how it goes together.
What the kit contains:
Front plate
Back plate
Automotive Trim, short and long pieces
Left Ear Piece (2)
Right Ear Piece (2)
Nuts and Bolts for assembly
Mesh square
Green glass for visor
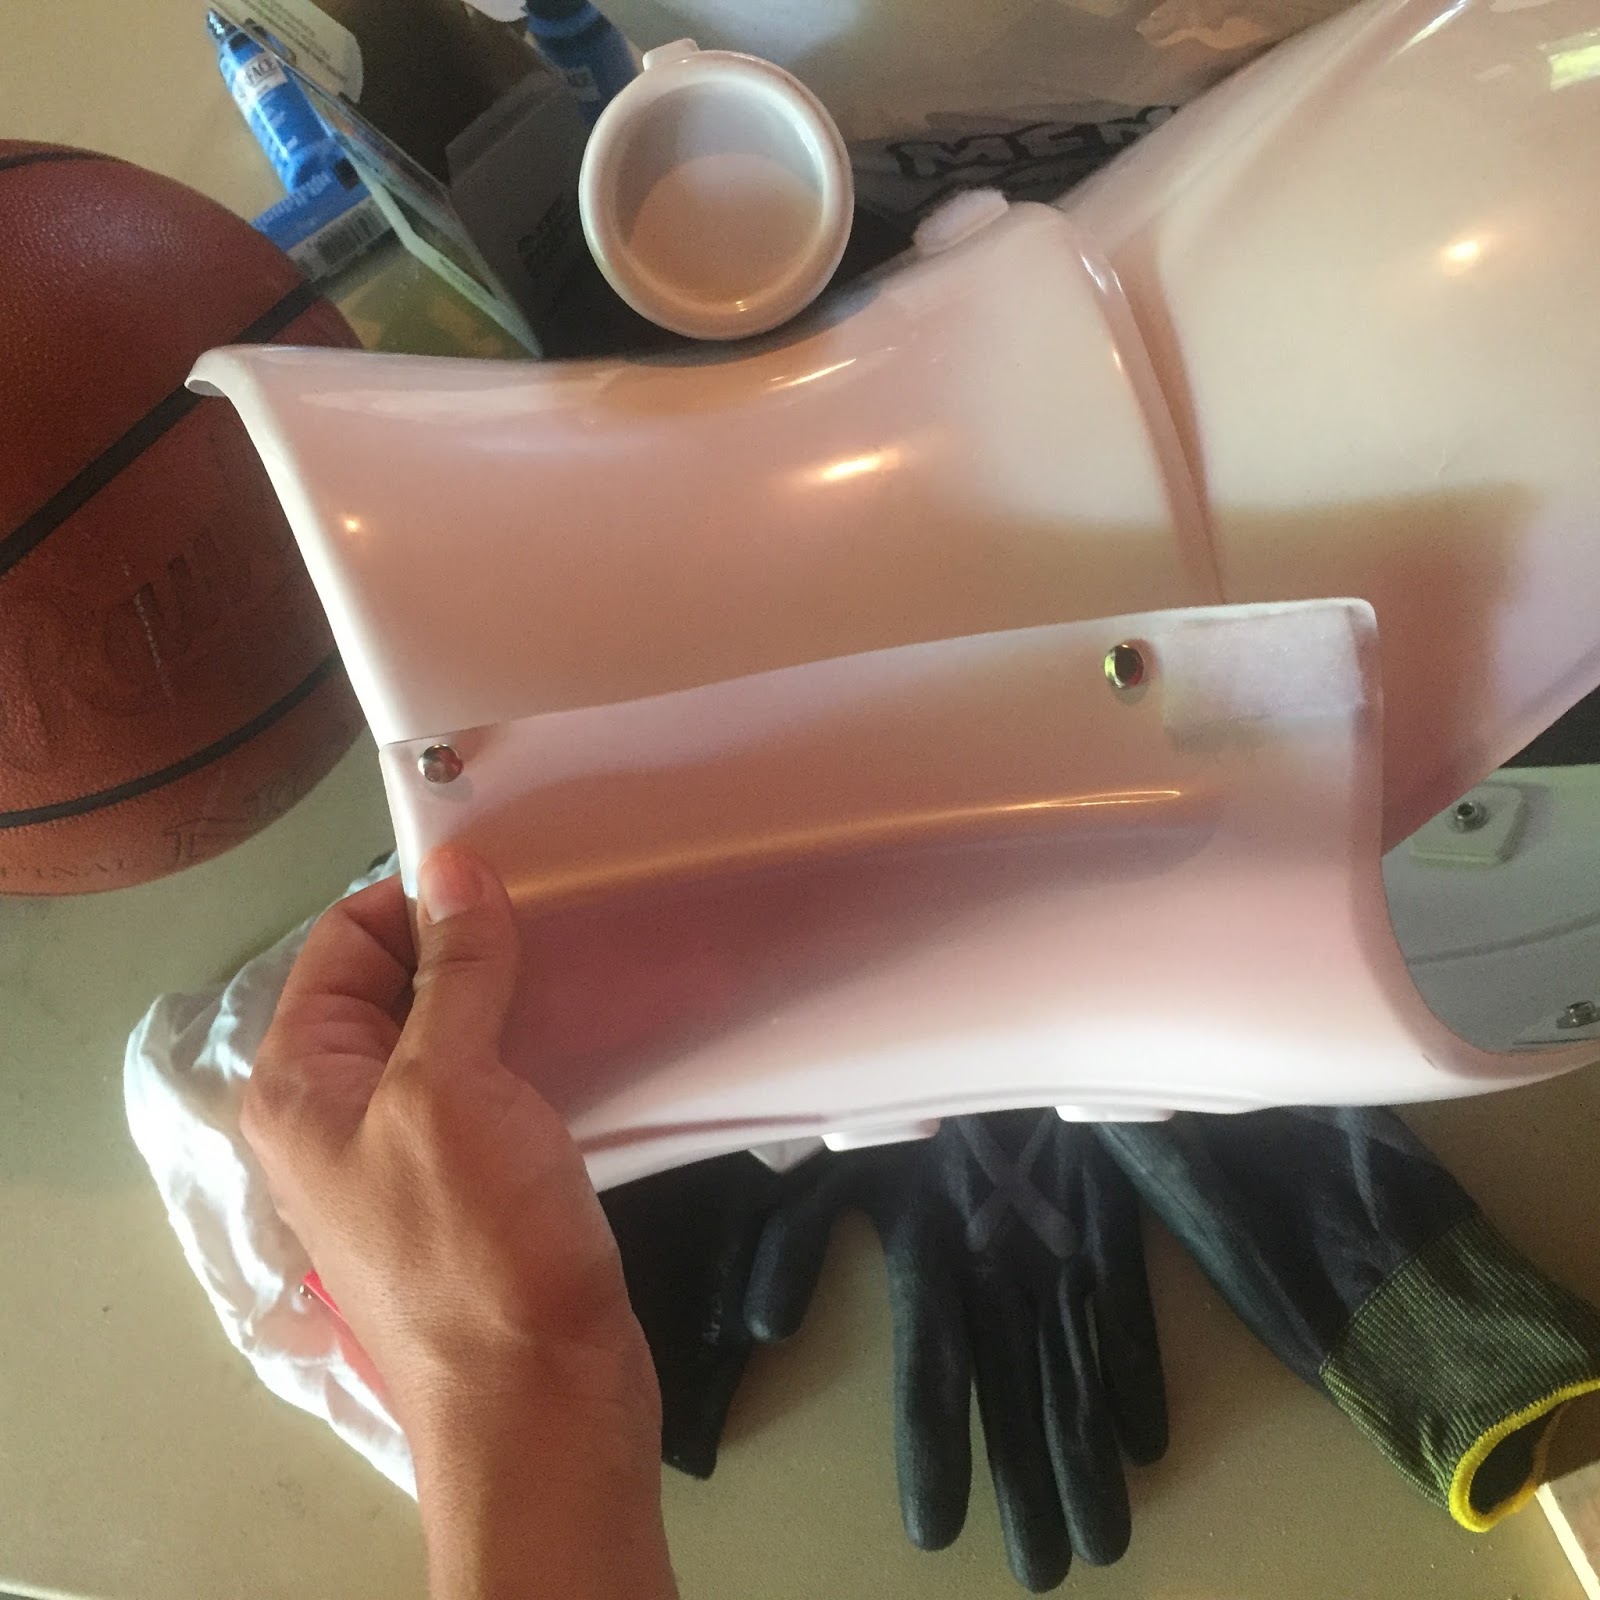
White plumbing pieces for Aerators
Business Card
Just to show you in case you haven't handled a bucket before (slang for helmet) here are some pics of an assembled Anovos Stunt TK helmet for reference.
I have a pretty good Helmet Youtube Video that included how its assembled with tips garnered from sneaking around the Anovos Build Facebook group.
Things to note:
Ear pieces curve toward the back at the bottom, painted stripes also curve to the back. You are only supposed to have either 11 or 13 stripes.
The trapezoid areas are painted or are decals

The ear pieces are bolted to other piece near the ear and at bottom. Automotive trim (black) goes around neck opening and hides seams. The screws are painted white. Ear bars are grey, the brown has black trim too. And if I could show you the teeth, 8 openings are cut out with mesh behind them.
Above is a right side view. Now, lets be clear. Your helmet has its OWN criteria. So read the CRL and make sure its done right. For example, the tear area on Legacy Trooper is white; but you get the idea.
Here you need to see any part of the lip on the helmet that points down needs to be trimmed off or the black trim will point down instead of toward your neck.
Here I have removed a bit of trim so you can see that edge goes straight toward your neck. Also the Anovos helmet mounts the green plastic inside and has a helmet strapping system of sorts. Inside comfort will be up to you. I plan to get some foam pads. And maybe a fan.
So lets begin!
Materials:
Dremel and attachments
Testors black and Grey 1138 paints
Alcohol or hand sanitizer - for removing paint
Lexan scissors, curved and straight
Fine grit sand paper
Metal Ruler
Paint brushes
Exacto knife
Painter Tape
Shorter Nuts and Bolts (see sizes below in image)
Nuts and Bolts for Aerators (get the same size as ears - see below)
1/4 inch thick sheet of white craft foam or Foamies (JoAnn's)
CA glue
Hot Glue Gun, low heat
Decals from TrooperBay.com or plan on painting them yourself
Drill
Pencil/marker
White Nail Polish
Spare piece of clear plastic from packaging
Black mesh for inside teeth area (patio screening kind from HomeDepot)
Other things you may want:
Fan for inside helmet
Foam pad (motorcycle helmet pads) for inside helmet
Voice box things
1. Sort and understand all your pieces
The helmet is actually pretty easy. Kevin has included lines where you should begin to trim. On the face, you trim the opening and bottom. Try to keep the brow straight.
Right away I sorted my ear pieces into lefts and rights and labeled them. (see how to below)
And in the beginning I thought this mesh went inside behind the teeth but found out it will be cut to fit inside the Aerators.
The Aerators will be painted black and mounted on the front round depressions of the helmet. You can glue them on or drill a hole in them and use short screws/bolts.
As a note: one screw will go through the front plate and back plate. The other two screws go through ear pieces, and the front and back.
The ear pieces must have side piece curve to the back. Note that there is a trim line.
Take a minute and label them right and left.
2. Buy yourself some shorter screws
The screws included will gouge you in the cheek when you wear the helmet. I just took them down to the hardware store and got shorter ones.
Here is the image for exact description - I have no idea what all the numbers mean. One is length and another is diameter? Anyway...
You need 4 of the 6-32 x 1/2 (two for putting front and back plates together, and two for aerators)
You will also need 28 of the 6-32 x 3/4 for ear pieces and belt (2 on each helmet side, and 11 pairs for belt, and two for detonator is you mount it)
You will need matching bolts for all of them and washers. And I would get extra bolts. They roll off the table, and on detonator I used doubles to make sure it wouldn't come off.
Washers were cheaper by the bag/box.
Make sure you have a drill bit 9/64 or larger. The 9/64 made a hole just big enough for this size screw, if you want one that slips in easier then go a bit larger.
Keep your original screws if you want. I didn't use mine.
3. Trim and sand front and back pieces.
I used Lexan scissors, both curved and straight to trim. They are so handy! Then I sanded using my Dremel kit. Lastly I went over each piece with a fine-grit piece of sandpaper to give it a super-smooth feel.
So trim along the lines for the face plate,
And along the bottom, but do that carefully. I over trimmed mine and it made my bottom of my helmet a bit wonky. Wonky is ok though.
And now trimming the back plate.
And straighten the brow. I held my metal ruler and made the edge as straight as possible. Don't want my brow looking droopy.
Again trim carefully along the bottom.
4. Trim and put on brow trim, and fit them together
You can now trim and fit on the black trim. I would not glue it on at this point.
Measure the length with a sewing tape measure or a piece of paper. You can also fit it to the helmet and eyeball it. (If you are feeling particularly lazy or cannot find your sewing tape measure)
I just started putting it on and when I got to the end, I marked it with a pencil, opened up the trim (easier to make sure the trim will be cut straight if you open and flatten it)
And cut it with my Lexan Scissors.
And it fits fine. Now you can put them together and begin to see how they fit. I positioned mine so the brow looked the way I wanted it, used painters tape and taped it into place on the inside.
Now Kevin has marked guides for where the screws should go, but each piece is unique and I wouldn't trust them. Tape it into place.

Make sure all lines line up. So the brow should look good, and these side flares should line up.
As a note: See below where I over trimmed my bottom, that will be fixed later. And maybe it wasn't me, but the way it formed. Anyway, don't worry about it till the end. I hadn't drilled my holes yet but wanted to point that out.
Painters tape it all together, inside and out. Then drill your holes. I would start by only drilling the one that goes through the two pieces. Save the ear cover holes for later.
If taped together you can drill them at the same time.
Buff or sand hole with buffing tool on dremel.
I just used it by hand to make the openings smooth.
See, the screws are way too long - go buy new ones!
These are the tools used to put in the screws, one is a wrench of some sort. Monkey? Adjustable?
And a flat head screwdriver.
5. Trimming Teeth and Eyes
Take it apart, and cut out the eyes. I used a regular Exacto Knife.
Small cuts to make it just the way I wanted. I found that when I put in the eye glass pieces that I needed to trim them in more because they were too close to my eyes. So be prepared to trim more if needed.
Trim out four "teeth" or openings on each side. Only four or it won't pass approval for 501st.
And sand or buff it all when finished. I did a combination of both.

6. Ear pieces
I used Lexan scissors, both curved and straight to trim. Then I sanded using my Dremel kit. Lastly I went over each piece with a fine-grit piece of sandpaper to give it a super-smooth feel.
Drill top holes out of them. For this piece use the guides.
If I had to do it all over again, I would have waited to drill the bottom screw because I found it didn't match up!
So don't be like me - wait to drill this bottom one till later.
When you put the screw in you will notice that is sits up high and stick out, so to speak.
You will need to hollow out the hole to let it sit flush with the ear piece.
Just go over it a bit with the buffer.
And it will take off enough so the screw sits flush.
And now your screw sits just right.
Fit your ear piece to each side. Use pencil or something to mark the holes, and drill the two ear holes for your helmet. Repeat for other side.
Notice above that they pretty much fit the angles. So I won't trimming another ear piece. Also the gaps will be closed when I tighten screws and you won't see the back piece in the gap, as the picture shows.
I also had to trim my black automotive trim so the ears would sit flush.
Now, note below that the back piece was over trimmed. Not sure why or how, but it can be fixed so the automotive trim goes on nicely. Also the screw won't go through both pieces to hold it steady. I will probably be adjusting that. (I wish I hadn't drilled that bottom hole remember!)
7. Painting helmet
Now its time to paint your helmet. You can take it apart, again, or not. I chose not to. I found painters tape really helps you to draw straight lines. So put some on the frown and other areas.
The teeth are black, and so is the bottom section. I painted the bottom all the way in, because that is where the seam will be on the automotive trim and you don't want white showing through. Just in case...
Paint your ear panels grey with no black stripes or trim. If you are not using decals, now is the time to paint the trapezoids on front and back of helmet. Other people said they used painters tape to get straight lines when they painted theirs. I put stickers on, and I did that last.
Paint your aerators black inside and out. I wish I had drilled my holes first and then painted, but that is the way it went. Paint tops, let dry, upend and paint bottoms.
Take your white nail polish or white testors paint and paint your screws on the ear pieces white.
See how sharp they look!
8. Assembling and Installing Aerators
First start by drilling holes in your plumbing things if you haven't done so.
Cut your mesh in half.
I took a scrap piece of clear plastic, cut a circle just a bit smaller than the opening and used that to put inside the mesh to bend it.
Worked great.
Cut the ends off, remove the plastic circle and it's ready to go.
Do not glue it in! Set it aside for later.
There is a tiny dot - which didn't show up in picture, that you use as a guide to drill a hole in the circular depression.

Notice that your screw will show up, so paint it black.
Much nicer, screw the aerator base into your helmet.
Lastly, use a hot glue gun to glue the mesh in. I suggest having an open safety pin nearby to be able to adjust the mesh.
Re-paint anything that scratched off.
9. Installing Automotive Trim
Installing the black trim isn't hard, but its smudges and if you ran into ear piece irregularities like I did, it won't go on.
The short version is that you have to jerry-rig it, as my mom says.
First cut off areas to make a flowing line, of sorts. The trim won't go over the ear piece edge that stuck out above.
If you waited to drill the bottom hole, you can now drill it about 1/4 inch from the edge.
I also found that my ear needed trimming along the edge to make it sit tighter.
I found that I could drill a new hole but it still wouldn't go through all pieces. I did my best :)
I did find one ear piece had a big gap in the back. I didn't like that.
I could fill in with caulk, but I chose to put a strip of white foam.
It looks so much better! and I can caulk if I feel like it.
A close-up of the new screw area.
Get your automotive trim, open it and bend it a few times to reduce stiffness. Start near the black painted part, and push helmet into trim gap.
I used clamps to hold them as I went along. It helps.
Cut a wedge in the trim to git over your screws.
Work your way around until its done, cut end and check out how good it looks.
The last step is to lift up edges and put a little CA glue every few inches or so. Or use double-stick tape, you have options!
10. Installing Decals if you purchased them
I purchased decals from TrooperBay.com - they were very nice to work with.
The pointed ended ones go on the front sides
And the others go on the back.
Clean your surface so they stick properly.
Peel, line up, and stick. I found out that mine stuck out beyond my trim and looked funny.
I cheated and trimmed the corner off.
Remember the stripes curve toward the back and you have to have 11.
And it looks so awesome!
11. Installing Mesh on Teeth and Green Lenses
You have to purchase your own mesh by the roll at a hardware store.
Use a sheet of paper to make a pattern and cut your mesh to fit over you teeth area.
Glue it on with CA glue or hot glue.
Lenses:
I traced the eye-hole, cut lenses to be over sized by 1/4 inch, and cut them with my lexan scissors. Curved and straight.

I then hot-glued them in. I think I will research other methods, I have seen screws used, and a long single piece, but for now it works.
The lenses almost touch my eyes! So I cut popped them out and cut the inside eye-socket depth down. But I will be using padding to keep the helmet off my eyes. Maybe some foam around the nose and forehead.
12. Foam Squares
Put in some foam squares over the screws, so you don't cut your face!
I just cut two squares, put CA Glue on the corners and covered up the screw ends.
And other than installing your pads (search helmet pads on amazon) and maybe a fan, you're done!
I would recommend a stand, the clear paper towel stand (with a tennis ball for the top) at Target look cool. And if you join the facebook group Anovos Stormtrooper Builders - there is a guy who prints decals for them.
Master List of Linked Build Pages:
#1 Getting Started -sorting armor and getting supplies
#2 The Corset and Butt Plate
#3 Torso and Shoulder Pieces
#4 Upper Arm Pieces and Shoulder Bells
#5 Lower Arm Pieces and Hands
#6 Leg Pieces
#7 Belt and Ammo Boxes, and detonator
#8 Helmet